 Goblin
The annotation editor opens a screenshot so you can mark it up before you send it. Use it to point at the thing that matters, hide what shouldn't be shared, and put a clean background behind it.
Open the editor#
The fastest way is from a fresh capture:
- Take a screenshot. A card appears (Quick Access).
- Point at the card and press Edit (bottom left). Or double-click the card.
- The editor opens with the picture in it.
Other ways in:
- Choose Image & PDF Tools›Annotate Last Screenshot in the right-click menu on Goblin's menu bar item.
- Choose Image & PDF Tools›Open File… to pick an image, or Open from Clipboard to use the image you copied last. If a clipboard image is waiting when the editor opens, Clipboard image on Open Annotate in Settings›Capture›Annotate›More decides whether Goblin loads it, asks, or leaves it.
- Use the Capture Markup shortcut (⌃⌥⌘7 once the capture shortcuts are on) to select an area and mark it up right on the screen, without a window in between. Finish with ⌘S or Return. The Capture Area & Annotate shortcut instead opens the area in the editor window.
- Tick Open Annotate tool in the Screenshot column of After Capture (Settings›Capture›General), and every screenshot opens in the editor straight away.
- Run
goblin capture annotate(with a file name to open that image), or opengoblin://capture/annotate.
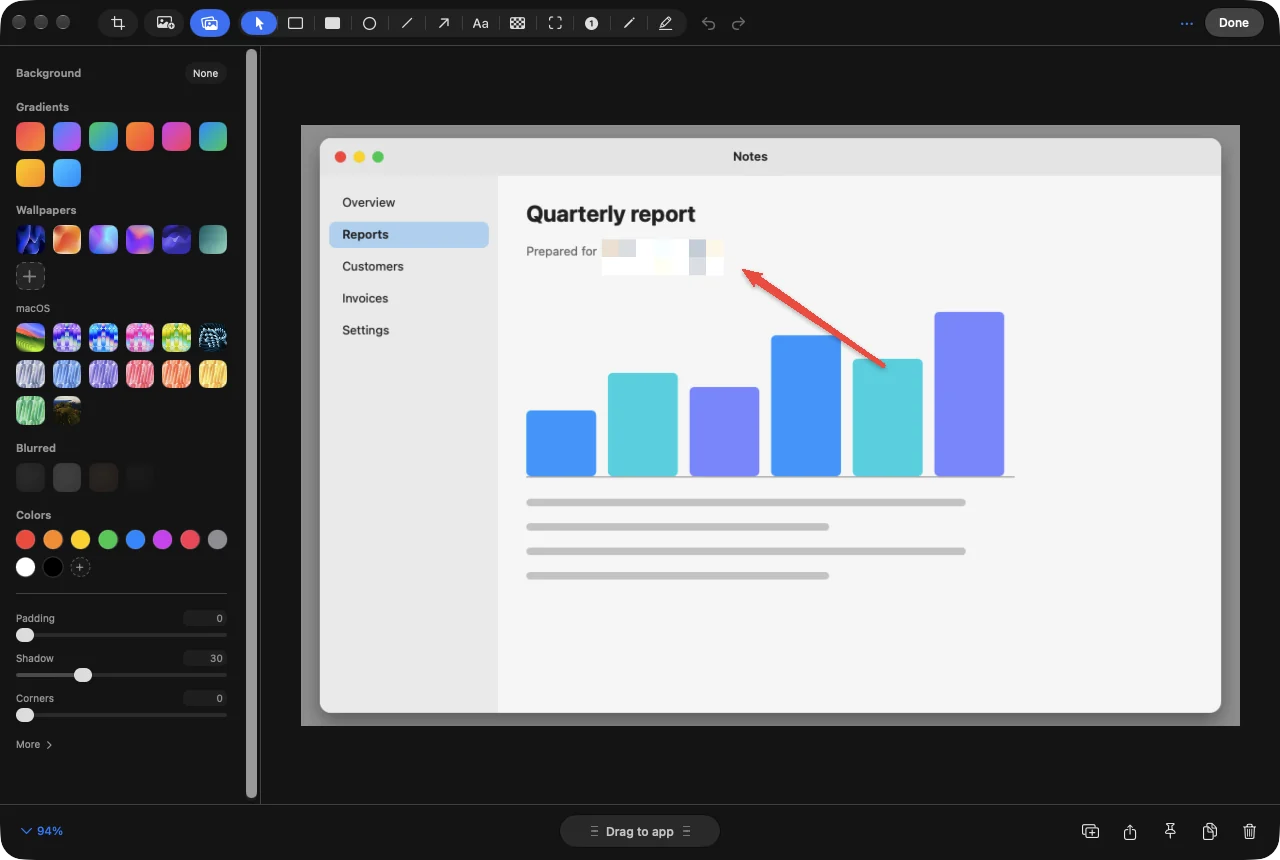
Mark up a screenshot#
- Pick a tool in the toolbar at the top (the table below lists them), or press its letter key.
- Drag on the picture to draw. For Text, click where you want the text and type.
- Press Selection (or V) to select, move and resize what you drew. Press ⌫ to delete the selected item.
- Press Done when you finish, or use the bottom bar to copy or save (see Saving and sharing).
⌘Z undoes. The More menu (the dots at the right) also has Undo and Redo.
| Tool | What it does |
|---|---|
| Selection | Select, move and resize what you drew. |
| Rectangle, Filled Rectangle, Oval, Line | Shapes. Line style can be solid, dashed or dotted. |
| Arrow | Classic, outlined or tapered, straight or curved either way, with a start and an end head. |
| Pencil | Freehand. |
| Highlighter | A translucent stroke. Snap Highlight to Text aligns it to the lines of text under it; hold ⌘ to switch snapping off for a moment. |
| Text | A text box with color and style. |
| Blur | Hides an area (see below). |
| Counter | Numbered markers, for steps. |
| Spotlight | Darkens everything but the area you choose; Darkness sets how much. |
| Crop | Crop with fixed ratios, a rule-of-thirds grid and edge snapping (Snap to Edges; hold ⌘ to switch it off for a moment). Press Apply to crop or Cancel. |
| Watermark | In the More menu. A single mark or a tiled or diagonal pattern, with opacity. The text starts as Goblin; change it to your own. |
Settings›Capture›Annotate sets the Default Tool, Remember Last Tool (start with the tool you used last) and the two snapping aids Snap to Edges and Snap Highlight to Text. More adds Save combined result as part of current edit, Clipboard image on Open Annotate, Close after drop and Reactivate after drop (what happens to the editor after you drag the picture into another app).
Hide private information#
- Choose the Blur tool.
- In its options, pick a Blur Type: Pixelate, Blur (smooth), Blur (secure) or Black Out.
- Drag over the name, number or face you want to hide.
Use Black Out for anything secret: it covers the area completely. Auto Redact Sensitive Data (in the More menu) scans the picture for private-looking data and adds redactions over what it finds, or says No sensitive data found. Check the result before you share the picture; it is a help, not a guarantee.
Add a background, padding and a mockup#
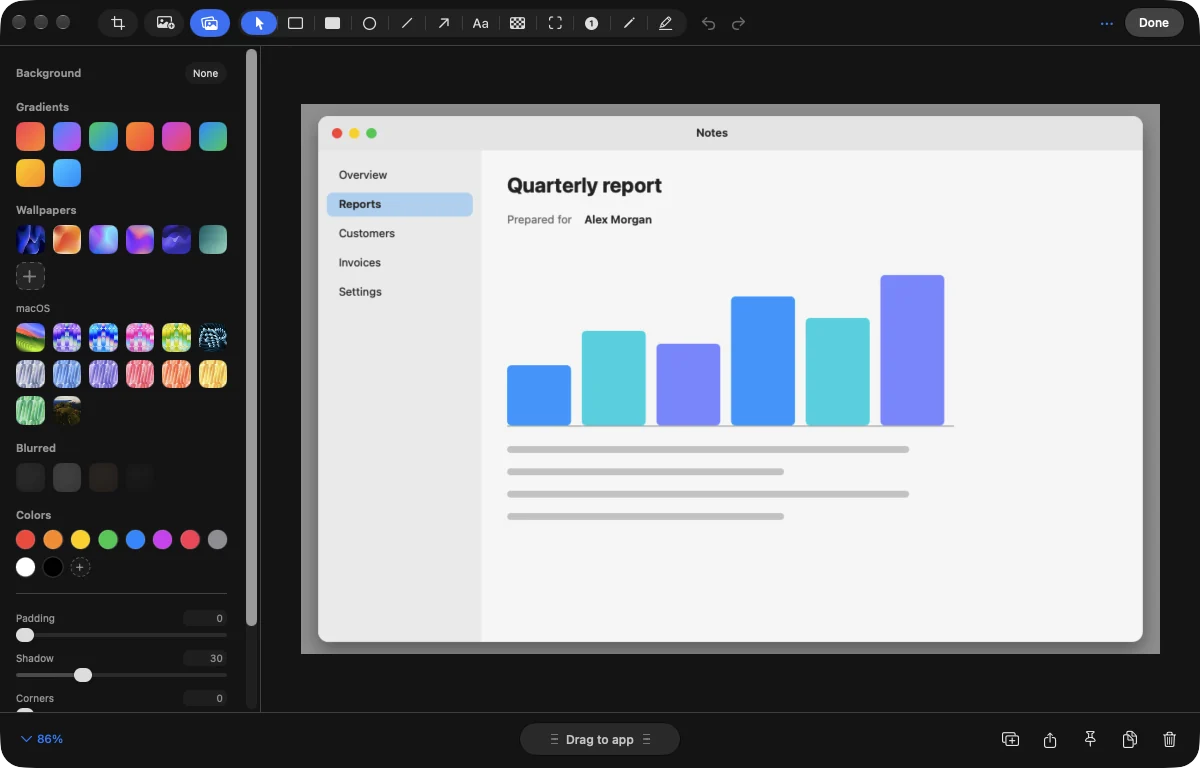
- Press the Background button at the left of the toolbar (or B). The Background sidebar opens.
- Choose a background from Gradients, Wallpapers, Blurred (Soft, Frosted, Vivid, Dim) or Colors. Your own pictures appear under Wallpapers once you add them (see Wallpaper backgrounds).
- Set Padding, Inset, Shadow and Corners with the sliders. Auto-balance evens out the padding. More at the bottom holds the background ratio and alignment.
- To start over, press None beside the sidebar's Background heading. It appears once you have changed something.
Put a screenshot in a mockup#
- Choose Mockup in the bottom bar (or Mockup in the More menu).
- Tilt the display and choose a background; the same backgrounds are available.
- Reset Mockup puts it straight again. Annotate returns to drawing; Preview shows the result without handles.
Remove the background from a picture#
- Open More›Remove Background. It needs macOS 14 or newer.
- Wait for it to finish. The subject stays and the background becomes transparent. Background Removed (Click to restore) puts it back.
Auto-Crop Subject in Settings›Capture›General›More›Remove Background trims the empty edges. Saving a cutout as JPEG flattens it, so Goblin warns you; save as PNG or WebP to keep the transparency.
Extract Text (in the More menu) reads the text in the picture.
Combine images#
- Press Combine Images (the picture-plus button at the top left) and choose two or more images.
- Pick how to arrange them: side by side, one above another, or on a free canvas. Set the gap you want. Auto Stitch lines up pictures that overlap.
- Copy the result or save it. With Save combined result as part of current edit on, saving updates the screenshot you are working on instead of asking for a new file.
Saving and sharing#
Use the bottom bar. Its buttons copy the picture (Copy to clipboard), pin it (Pin window), share it, upload it (Upload to Cloud, Cloud upload), open a New Annotate Window, delete it or Drag to app to drop it into another app. More›Save As… saves a copy. If you uploaded the picture before, uploading again replaces the file at the same link, and Goblin asks first.
The editor remembers your last tool if you turn on Remember Last Tool in Settings›Capture›Annotate.