 Goblin
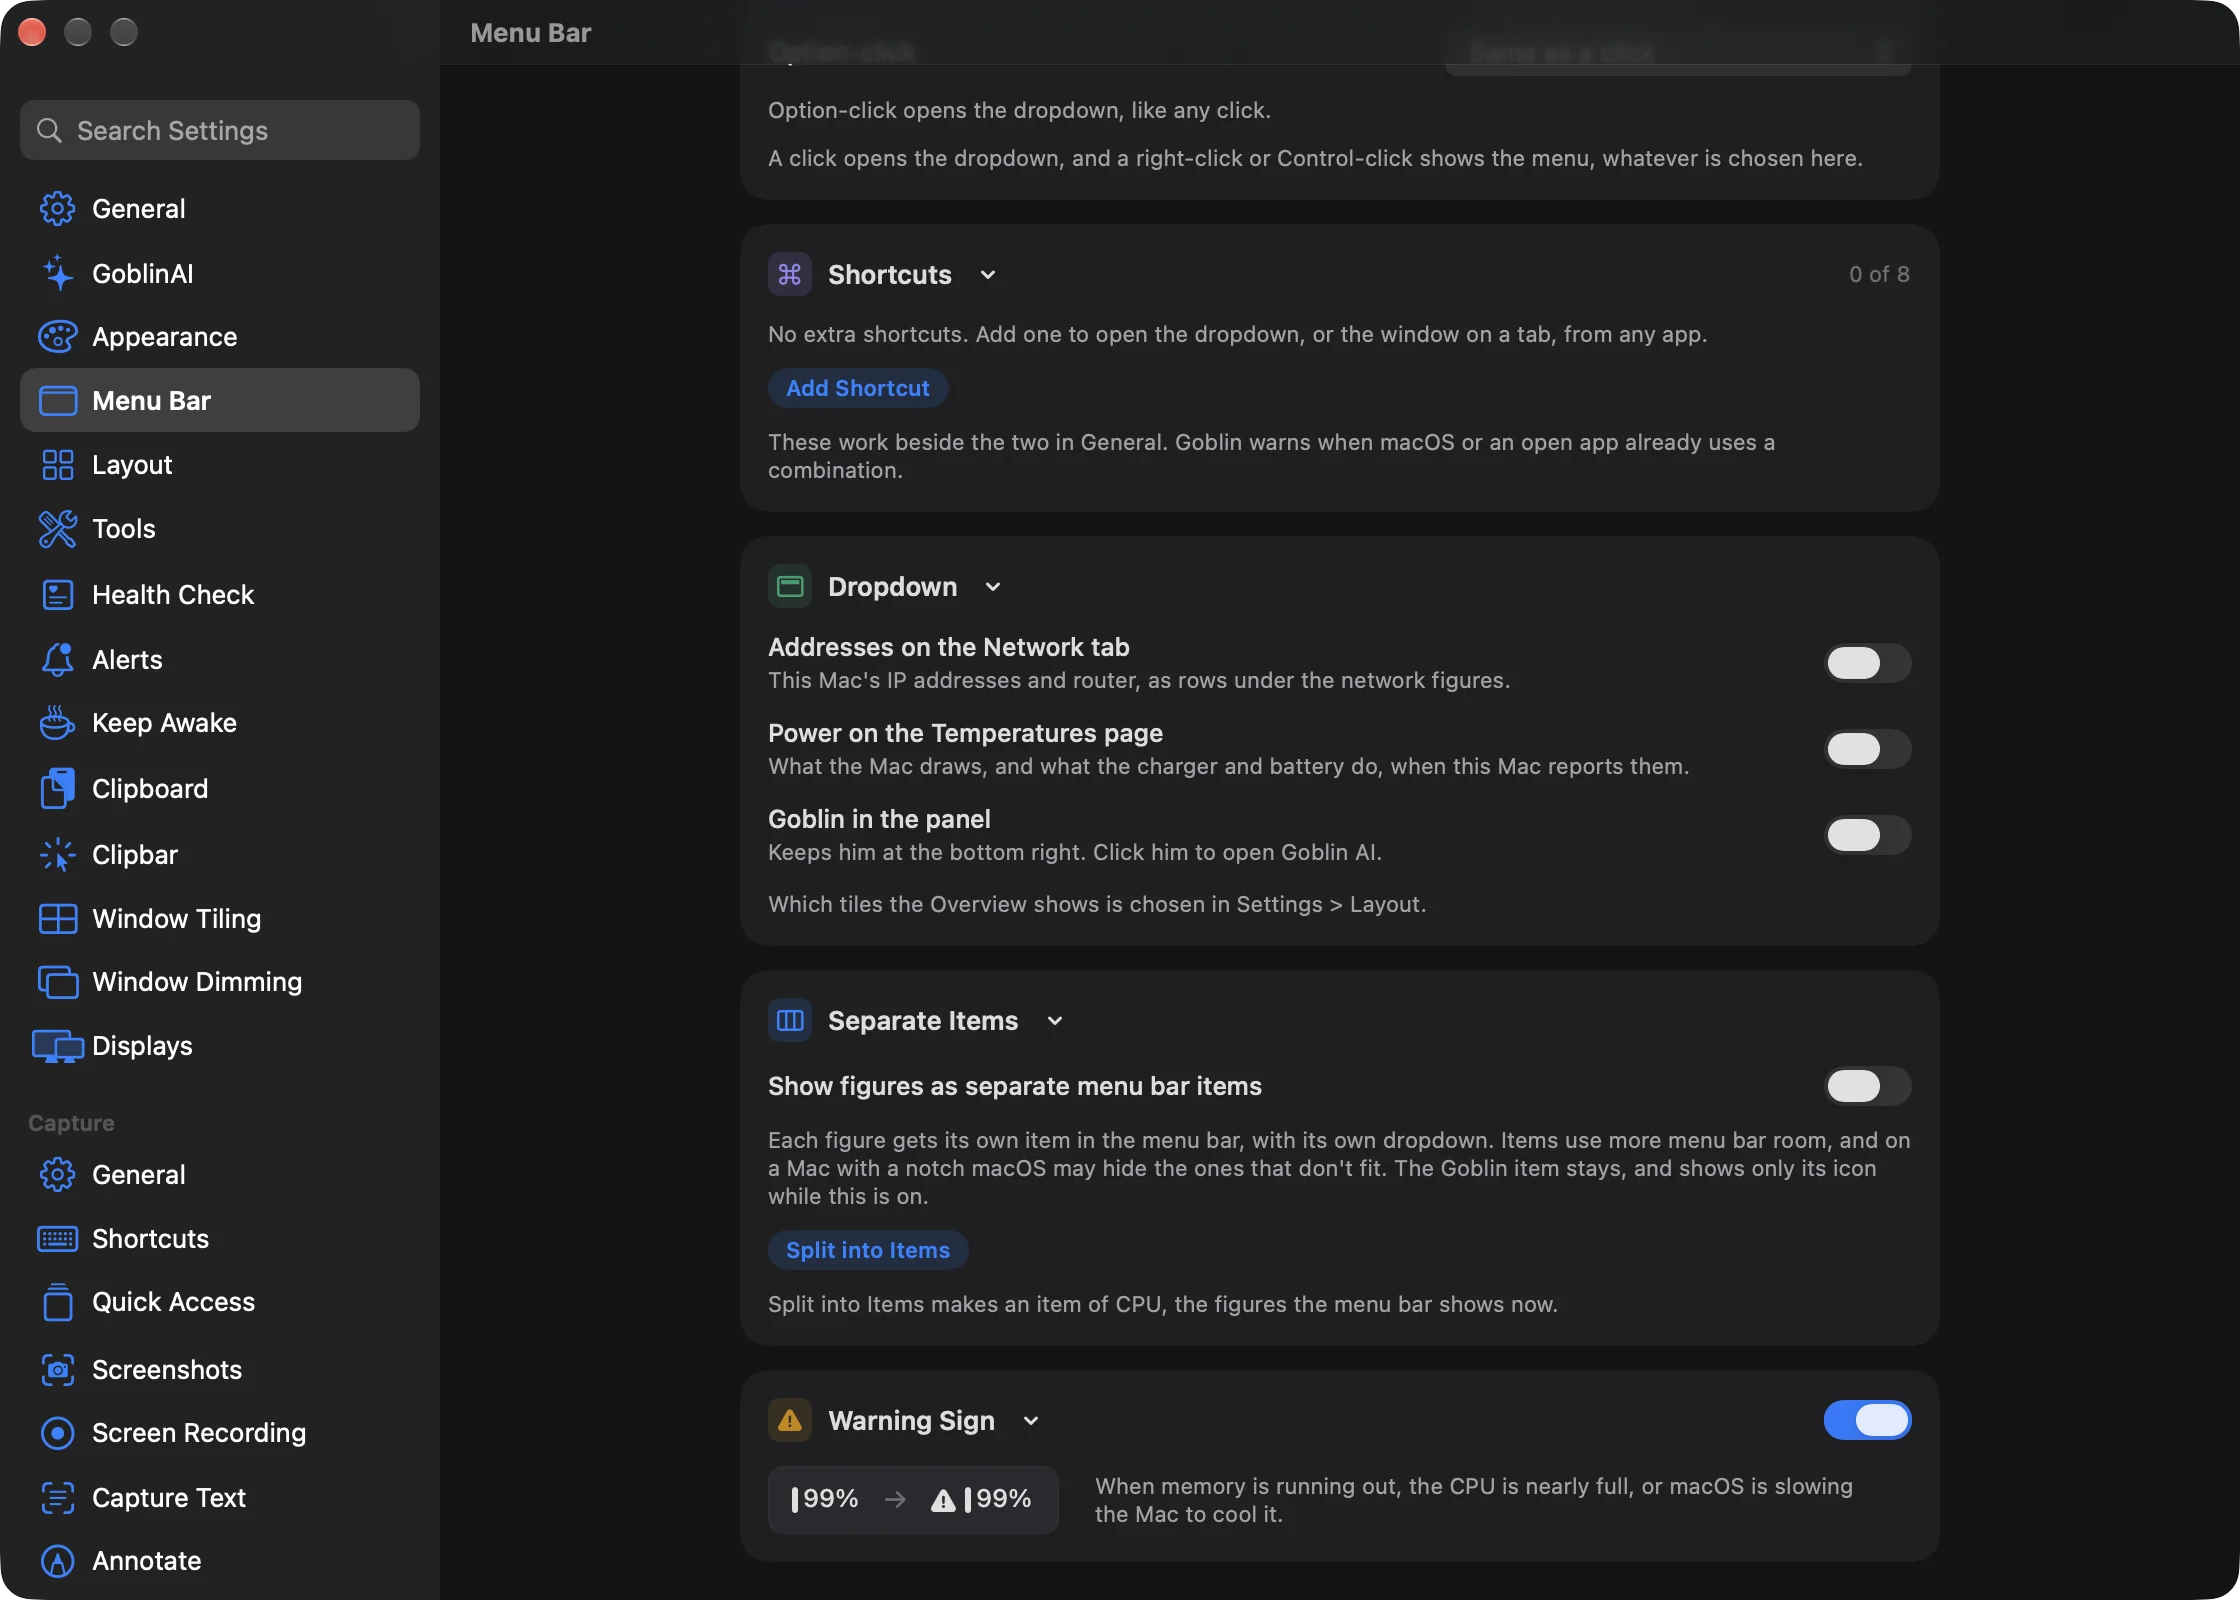
Normally all your figures share one menu bar item. With separate items on, each figure (or small group of figures) gets a menu bar item of its own. Each one opens the panel on its own tab: click the CPU item and you land on CPU, click the Network item and you land on Network. Use it when you want to glance at figures one by one, or put them in different places along the menu bar. Each item takes room of its own, so a crowded menu bar hides them sooner (see If an item is missing).
The settings are at the bottom of Settings›Menu Bar, in the Separate Items card and, while it's on, the Items card.
Turn on separate items#
- Open Settings›Menu Bar and scroll to the Separate Items card.
- Turn on Show figures as separate menu bar items.
- The first time, Goblin runs Split into Items for you, so you start with one item for each figure your menu bar was showing. The Items card appears below, and the new items appear in the menu bar.
| Setting | What it does | Default |
|---|---|---|
| Show figures as separate menu bar items | Shows your items as separate menu bar items. | Off |
While separate items are on:
- Goblin's own item stays, and shows only its icon. It still shows the warning sign, the firewall cues and the Keep Awake icon. The Style and Figures cards apply to it again once you go back to one item.
- Items show figures only. They have no icon, warning sign or firewall cues.
- Automatic figures don't show anywhere: not in the Goblin item, and not in your items. If you rely on figures that join when something is unusual, keep to one item.
Split into Items and go back to one item#
To make items from what the menu bar shows now:
- In the Separate Items card, click Split into Items.
- If you already have items, Goblin asks Replace Your Items?. Click Replace to continue or Cancel to keep what you have.
Split into Items makes one item for each figure the menu bar shows now: every figure in your Stacked list (also used by the Icon style), or the one figure in the Figure and Graph styles. An item made from the Graph style keeps its graph. Only the first 6 fit. The card's caption tells you what it will make, for example "Split into Items makes an item each of CPU and Memory, the figures the menu bar shows now."
To go back to one item, click Back to One Item in the same card. Everything shows in the Goblin item again. Your items are kept, so switching back on brings them back as they were.
Add, change or remove an item#
The Items card shows a strip with the Goblin icon followed by a preview of each item, then one row per item. The header counts them, for example "3 of 6". You can have up to 6 items.
Each row has:
- A number and a preview. Drag the preview to move the item up or down the list.
- Figure chips. Click a chip for a menu: Change to lists every figure the item doesn't show yet, and Remove followed by the figure's name (such as Remove GPU) takes it out when the item has more than one.
- Figure (with a plus), which adds another figure to the item, stacked as a small label over its value. An item holds up to 4.
- Graph, only when the item has a single figure. It draws that figure as a graph, using the settings in the Graph card.
- Opens picks the panel tab the item's click opens (below).
- The remove button (−) deletes the item.
To add an item:
- Click Add Item below the rows. It adds an item showing the first figure none of your items shows yet.
- Change its figure by clicking the chip, or add more with Figure.
Add Item is greyed out at 6, with the note "That is the most: 6 items."
To remove an item, click its remove button (−), or right-click the row and choose Remove.
Choose what an item opens#
By default an item opens the panel on its first figure's tab, and Opens says so in brackets, such as "Automatic (CPU)". Battery, CPU Temp, GPU Temp, Fan and Power items open the Power tab, Dev Servers opens Projects, and Disk and Free Space open Disk.
- In the item's row, click the Opens menu.
- Choose Automatic again, or any tab from Overview to Tools, including Clipboard.
Move an item along the menu bar#

The order in the Items list is the order Goblin creates the items in. Where each one ends up in the menu bar is up to macOS.
- To change the list's order, drag a row's preview up or down. Or right-click a row and choose Move Earlier or Move Later. With a row focused, ⌘↑ and ⌘↓ move it.
- To change an item's place in the menu bar itself, hold ⌘ and drag it along the menu bar.
If you ⌘-drag an item out of the menu bar, it's hidden until Goblin next opens, or until you turn separate items off and on again. To remove an item for good, use its remove button in the Items card.
If an item is missing#
macOS decides which items fit. On a Mac with a notch, or with many apps' items, it hides the ones that don't, and that can include Goblin's. While separate items are on, the Goblin item is only an icon, which is small. To free room:
- Click Back to One Item in the Separate Items card, or take out figures you don't need.
- Turn on Compact menu bar size in the Readouts card, which also shrinks each item.
- Quit apps whose items you don't need, or rearrange items with ⌘-drag.
If an item stays hidden, see My menu bar item is hidden for ways to reach Goblin without it.
Clicking an item#
- A click opens the menu bar panel on the item's Opens tab. When you close it, the Goblin item's panel goes back to the tab it was showing before.
- Right-click, Control-click and Option-click work as they do on the Goblin item. See Clicking the item. For Open the window on the figure, the figure is the item's first one.
Separate items in presets#
A preset you save keeps your separate items too, so you can switch between a single-item look and a split one. The built-in presets describe a single item: applying one turns separate items off, but keeps your list of items for later.
Other Goblin items in the menu bar#
Separate items are only the figures. Three other things can have an item of their own, each turned on in its own settings and not counted among the six: Keep Awake (see Keep Awake settings), a capture icon (see Menu bar and desktop) and the Tools item (see Tools settings).
Exact menu item tasks#
List Separate Menu Bar Items returns current item UUIDs. Set Separate Menu Bar Items true enables separate items. Add Separate Menu Bar Item cpu,memory creates an item with one to four distinct native metric IDs. Edit Separate Menu Bar Item UUID | cpu,memory | true | automatic changes its figures, graph flag and destination; replace UUID with a current item ID and automatic with a native pane ID if needed. Remove Separate Menu Bar Item UUID removes one current item. Reorder Separate Menu Bar Items UUID1,UUID2 requires every current UUID exactly once. This configures order; macOS still controls physical positions. Undo Menu Bar Task refuses to overwrite newer item changes and preserves unrelated menu configuration.