Goblin
 records the screen as video or as a GIF. You choose an area, a window or the whole screen, record with or without sound, and get a card in Quick Access when you stop. Open the recording in the video editor to trim it, speed parts up, and add zooms that follow the cursor.
Recording needs Screen Recording permission. The microphone and the camera are optional and have their own permissions (Permissions); macOS asks the first time a recording uses one.
Record the screen#
- Right-click Goblin's menu bar item and choose Capture›Record Screen. (The shortcut is ⌃⌥⌘5 once the capture shortcuts are on, or press Record in the dropdown if you pinned it, or run
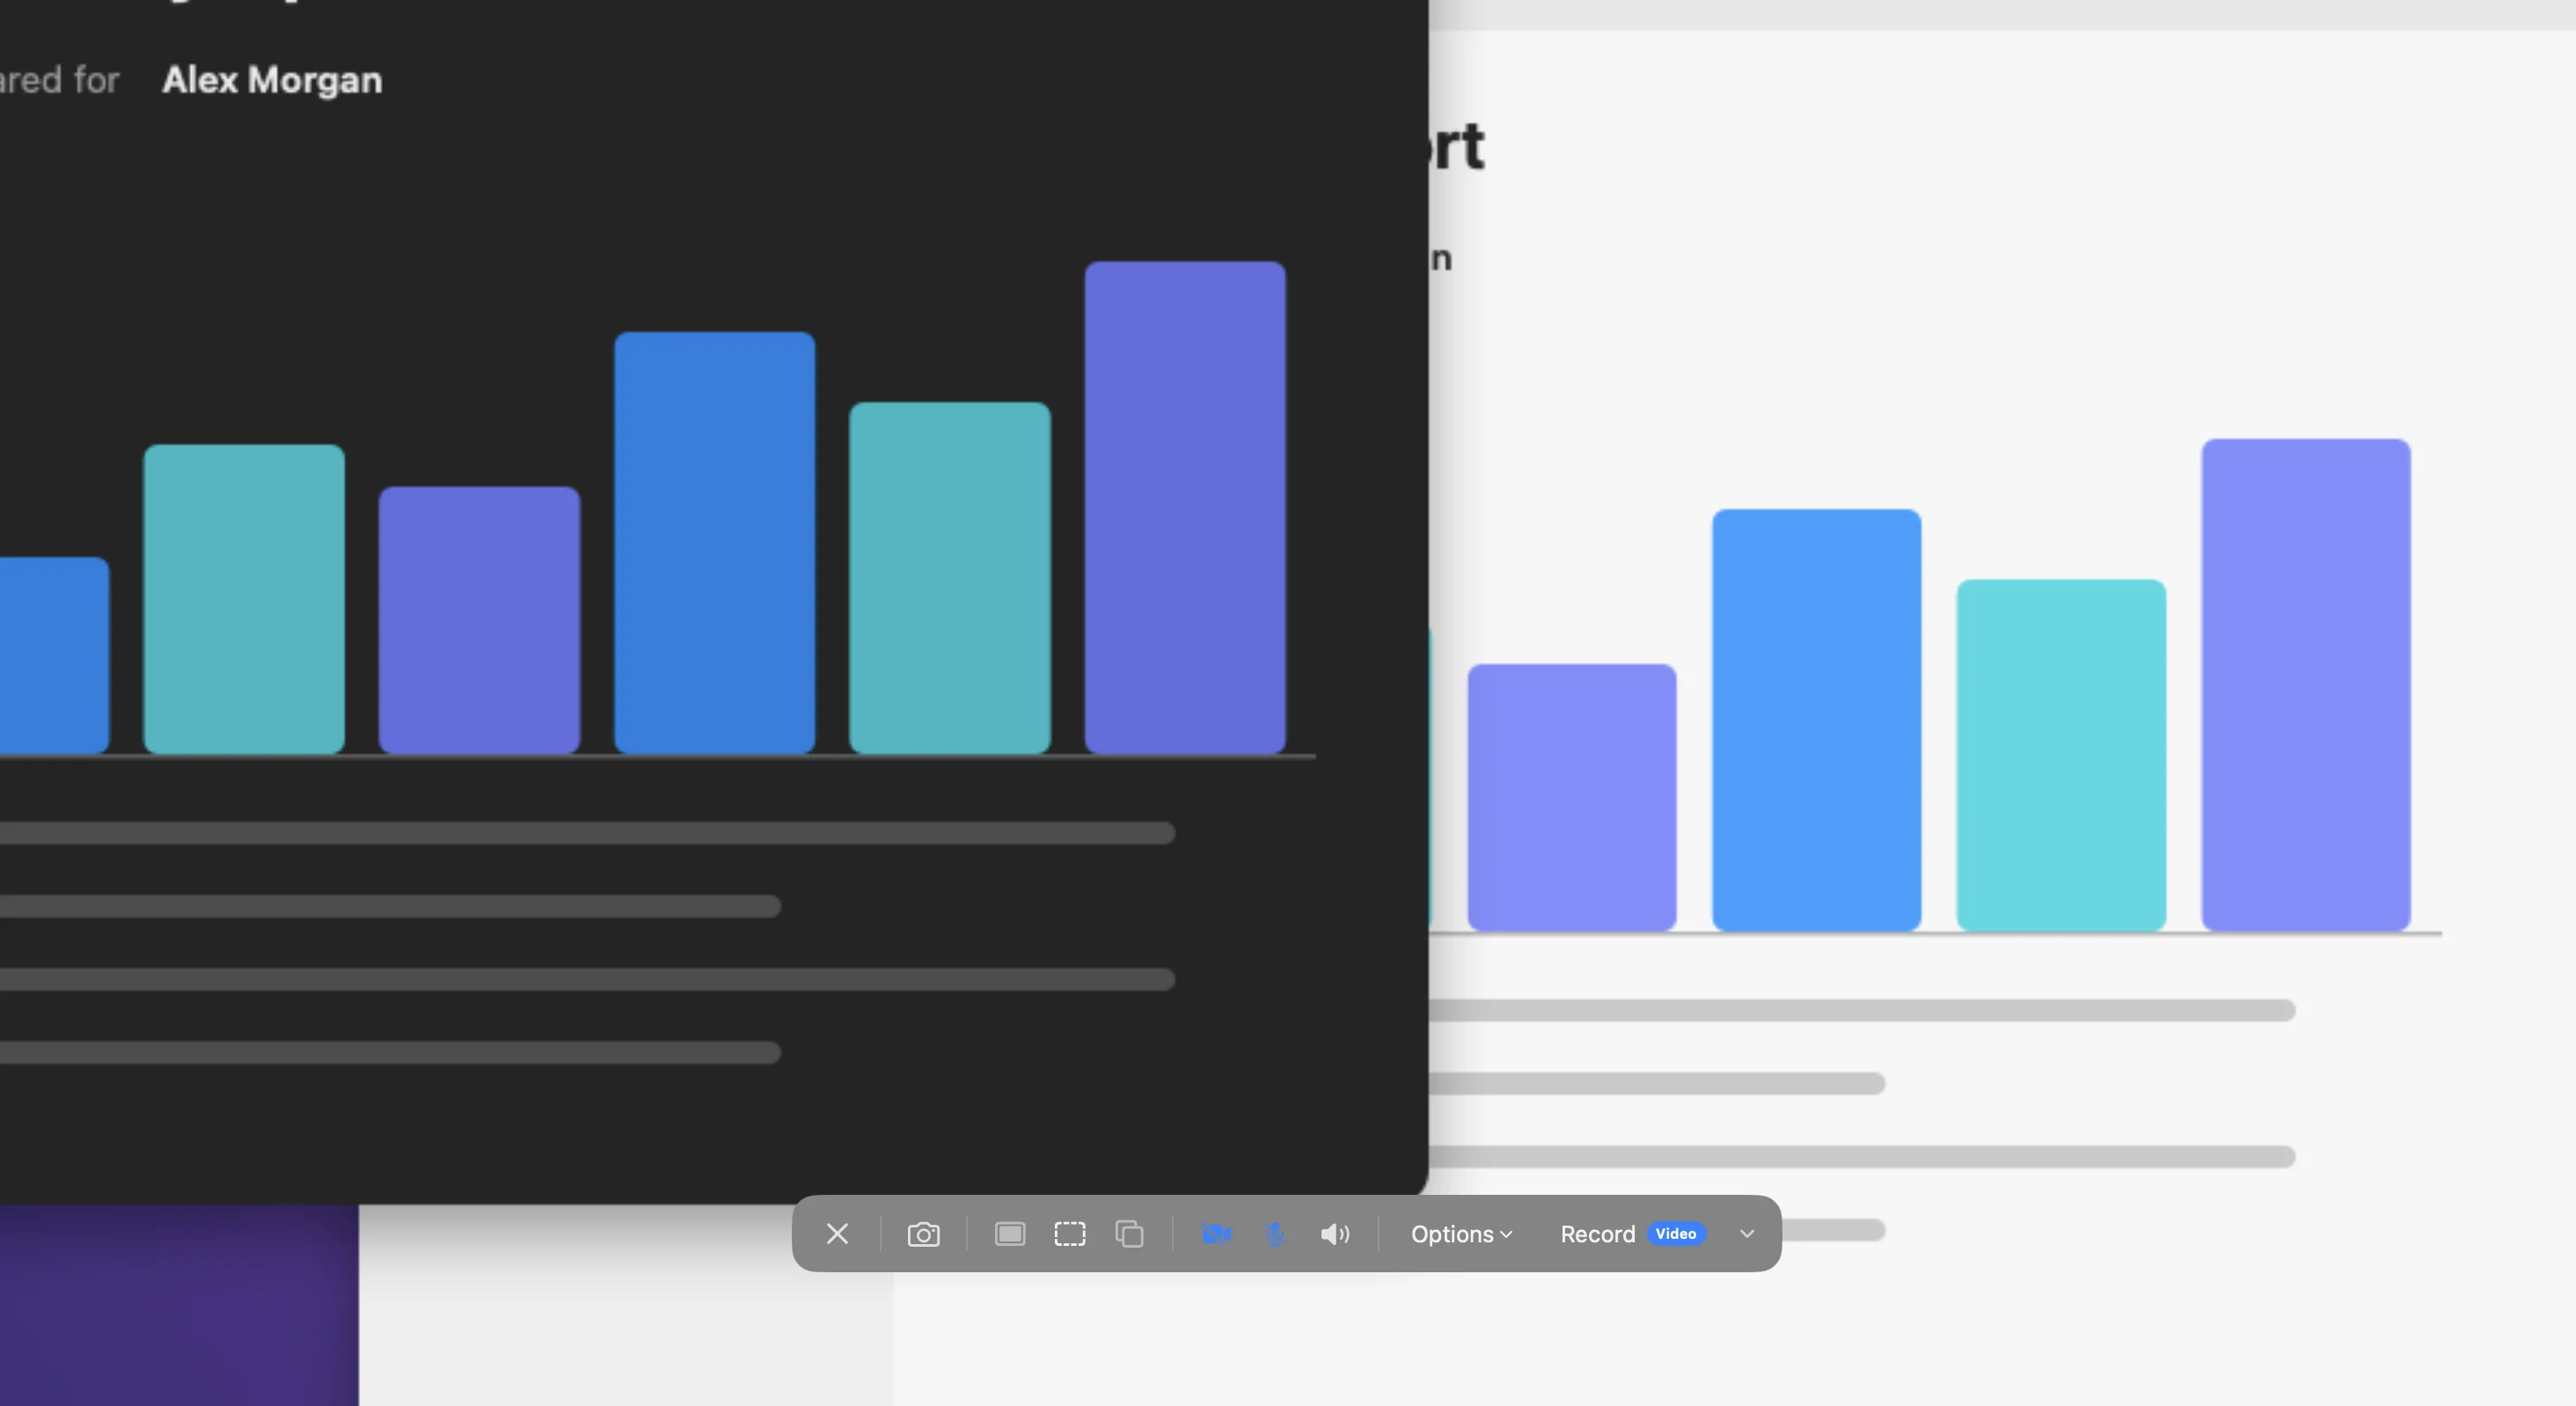
goblin capture record.) - Select the area you want. The toolbar appears under it. On the toolbar, Fullscreen capture records the whole screen, Area selection goes back, and Application Recording records one window.
- Check the sound and camera buttons and the Options menu (both are below). The Record button shows Video or GIF; the small arrow beside it switches between them.
- Press Record. If you turned on Show countdown, Goblin counts 3, 2, 1 first. Press Return to start at once or Esc to go back to the toolbar.
- A small bar with the time appears. Do what you want to record.
- Press Stop on the bar, or choose Stop Recording from the menu bar item, to finish. A card appears in Quick Access.
The toolbar also has a camera button, which takes a screenshot instead, and a close button, which cancels.
Record a GIF#
Choose Capture›Record GIF from the right-click menu (or run goblin capture record gif). It starts the same flow with GIF already chosen next to the Record button.
Stop, pause or restart a recording#
While a recording runs, Goblin's menu bar item shows a red dot and the time recorded (grey while paused, and the time doesn't count paused seconds).
- To stop or pause, click the menu bar item. A small menu opens with Stop Recording, Pause Recording (or Resume Recording) and Show Dropdown.
- Or use the bar on the recording: the pause button, Restart recording, Delete recording and Stop.
- The dropdown also swaps its buttons for the time with Pause (or Resume) and Stop.
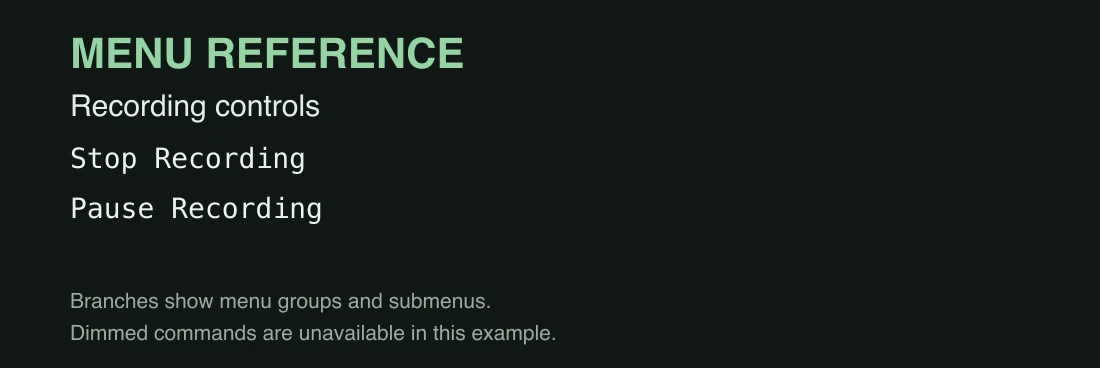
Delete recording throws the recording away; Restart recording starts it again. With Show Floating Controls off (see below) the bar is hidden, and you stop from the menu bar item.
Record sound and the camera#
The toolbar has three buttons beside the Options menu: the camera, the microphone and System Audio.
- To record what your Mac plays, turn on System Audio.
- To record your voice, turn on the microphone button. Its menu lets you pick the input or Do Not Use Microphone.
- To show yourself in a corner, turn on the camera button. Its menu has Do Not Use Camera, the camera to use, the Shape (circle, square or rectangle), the Size, and Mirror Camera.
System Audio and the microphone have defaults too, in Settings›Capture›Screen Recording›Audio. System audio is on and the microphone is off to begin with. Microphone Input there picks which microphone.
The toolbar's Options menu#
Options opens Recording Settings:
| Section | Setting | What it does |
|---|---|---|
| Format | MOV or MP4 | MP4 plays in more places. |
| Format | Max Resolution | Auto limits the size for browser compatibility; Native records every pixel. The other choices cap it at 4K, 1440p, 1080p, 720p or 480p. |
| Quality | High, Medium, Low | Higher quality makes bigger files. |
| Overlays | Show Cursor | Includes the pointer. |
| Overlays | Highlight Clicks | Draws expanding rings where you click. |
| Overlays | Show Keystrokes | Shows the keys you press on screen. |
| Overlays | Dim Non-Selected Area | Darkens the screen outside the recorded area, so the area stands out. |
Show clicks and keystrokes#
- On the toolbar, press Options.
- Under Overlays, turn on Highlight Clicks, Show Keystrokes, or both.
- To change how they look, open Settings›Capture›Screen Recording. Mouse Highlight sets the size, animation duration, ripple count, color and opacity of the rings. Keystroke Overlay sets the font size, the position of the badge and how long the keys stay. Each has Reset to Default.
Draw on the screen#
- Start a recording.
- Press the pen button (Enable annotations) on the bar, or press the Draw on Screen While Recording shortcut.
- Draw. The drawing is part of the recording. Press the button again (Disable annotations) to stop drawing.
The shortcut ships unassigned; see Keyboard shortcuts.
Recording settings#
Settings›Capture›Screen Recording has the defaults for the toolbar and more:
| Setting | What it does | Default |
|---|---|---|
| Show Floating Controls | Shows the bar on screen while recording. When hidden, use the menu bar item to stop. | On |
| Remember Last Area | Restores the previous recording area on the next recording. | On |
| Show Timer in Menu Bar | Shows the elapsed time next to Goblin's icon. | On |
| Dim Non-Selected Area | Darkens everything outside the recording region. | On |
| Show countdown | Counts 3, 2, 1 over the area before recording starts. | Off |
| Do Not Disturb while recording | Holds Goblin's own notifications until the recording ends. macOS doesn't let apps change Focus, so notifications from other apps still appear. | Off |
| Show cursor | Includes the mouse pointer. | On |
| Frame Rate | 30 FPS or 60 FPS. | 30 FPS |
| Max Resolution | As in the Options menu. | Auto |
| System Audio, Microphone, Microphone Input | The sound defaults. | System audio on |
| More › Video Format, Quality | MOV or MP4; High, Medium or Low. | MOV, High |
Settings›Capture›Advanced›Recording Template sets the file name, as Screenshot Template does for pictures: Goblin_Recording_{datetime} by default (Advanced capture settings). Settings›Capture›General›After Capture decides whether a recording is saved and whether its card or the video editor opens (Taking screenshots).
Other things recording does#
- Hide Desktop Icons while recording (Settings›Capture›General›More›Menu Bar) covers the desktop icons and widgets for the length of the recording and brings them back afterwards. It is off by default.
- Keep Awake has a While recording the screen condition, so your Mac doesn't sleep in the middle of a recording (Turning on automatically).
- Goblin's own windows show up in recordings unless you turn off Include in Recordings under App Windows (Settings›Capture›General›More).
The video editor#
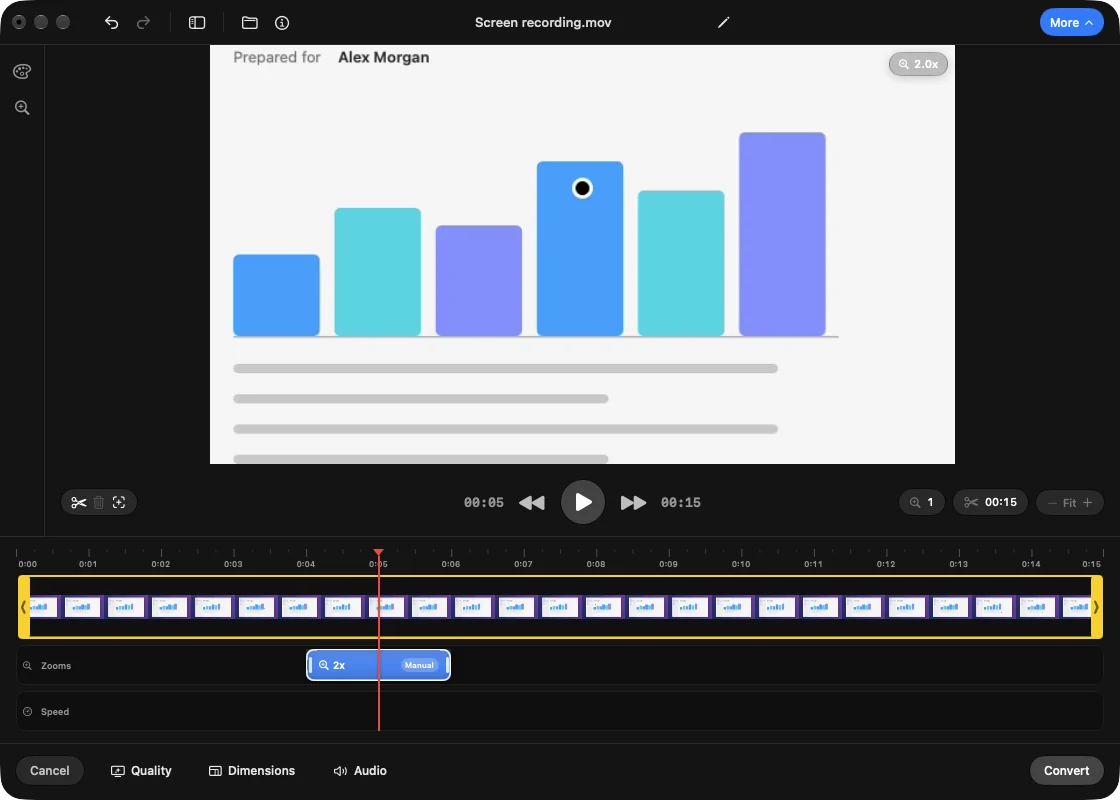
Open any recording to trim it, speed parts up and add zooms.
- Press Edit Video on a recording's card. Or press the Open Video Editor shortcut (it ships unassigned).
- To open an older recording or another video, use the shortcut and then Browse Files..., or drop the file in the window. The editor supports MOV, MP4, GIF and other video formats.
- Edit with the steps below. ⌘Z undoes and ⌘⇧Z redoes.
- Export (see the end of this section).
Trim a recording#
- Drag the ends of the clip in the timeline to change where it starts and ends.
- To cut it in two, move the playhead and press S (Split Here).
- Select a piece and press ⌫ to remove it, or use Move Clip Left and Move Clip Right to reorder.
Insert Video at Playhead adds another video into the timeline.
Add a zoom that follows the mouse#
- Move the playhead to where the zoom should start.
- Press Z, or click Add Zoom Here. A zoom item appears on the timeline.
- Click the zoom item. In Zoom Settings, set Zoom Level and the Zoom Center (drag in the preview or pick a corner).
- To make the camera follow the pointer while this zoom plays, set the mode to Auto. Manual keeps the framing fixed.
- Tune it with Follow Speed (lower is calmer) and Focus Margin (a stability zone so tiny movements don't nudge the camera). Transition Smoothness applies to every zoom in the editor.
Auto only works with recordings made by Goblin after mouse tracking was added; otherwise it says Mouse tracking data unavailable. A zoom you don't want can be disabled (Disable Zoom) or deleted (Delete Zoom), and Remove All Zooms clears them.
Speed up part of a recording#
- Right-click the Speed track and choose Add Speed Here (or Add Speed at Playhead), or drag across the track to set the region.
- Pick a rate from the list that opens. A rate above 1x speeds the region up (a timelapse); below 1x slows it down. Right-click the region for Disable Speed, Delete Speed and Remove All Speeds.
Change the sound and the background#
- Audio. In the export bar's Audio pill choose Keep Original, Mute or Custom Volume. With custom volume the microphone and the system sound each have a volume.
- Background. The Background button in the left rail sets the canvas around the recording: aspect ratio, a background and wallpapers.
Export the recording#
- Open the pills under the timeline: Quality, Dimensions and Audio for a video, Dimensions and GIF Info for a GIF. A GIF can be resized to another size preset.
- Press Save. Choose Replace Original or Save as Copy.
- When the export is done, Goblin offers to upload it (Cloud upload).