 Goblin
 takes screenshots of an area, a window, the whole screen, a long scrolling page, or only the text on the screen. Every capture is saved as a file, shows up as a small card you can act on (Quick Access), and is kept in your clipboard history (The Screenshots pinboard).
The first time you capture, macOS asks for Screen Recording permission. Goblin never asks by itself; see Permissions.
Start a capture#
The quickest way to take a screenshot of part of the screen:
- Right-click Goblin's menu bar item and choose Capture›Capture Area.
- Drag a rectangle over what you want. The screen dims outside it and a size label follows the pointer.
- Let go of the mouse. A card with the picture slides in at the edge of the screen.
- Press Copy or Save on the card, or leave it: Quick Access lists what the other buttons do.
Press Esc at any point before step 3 to cancel.
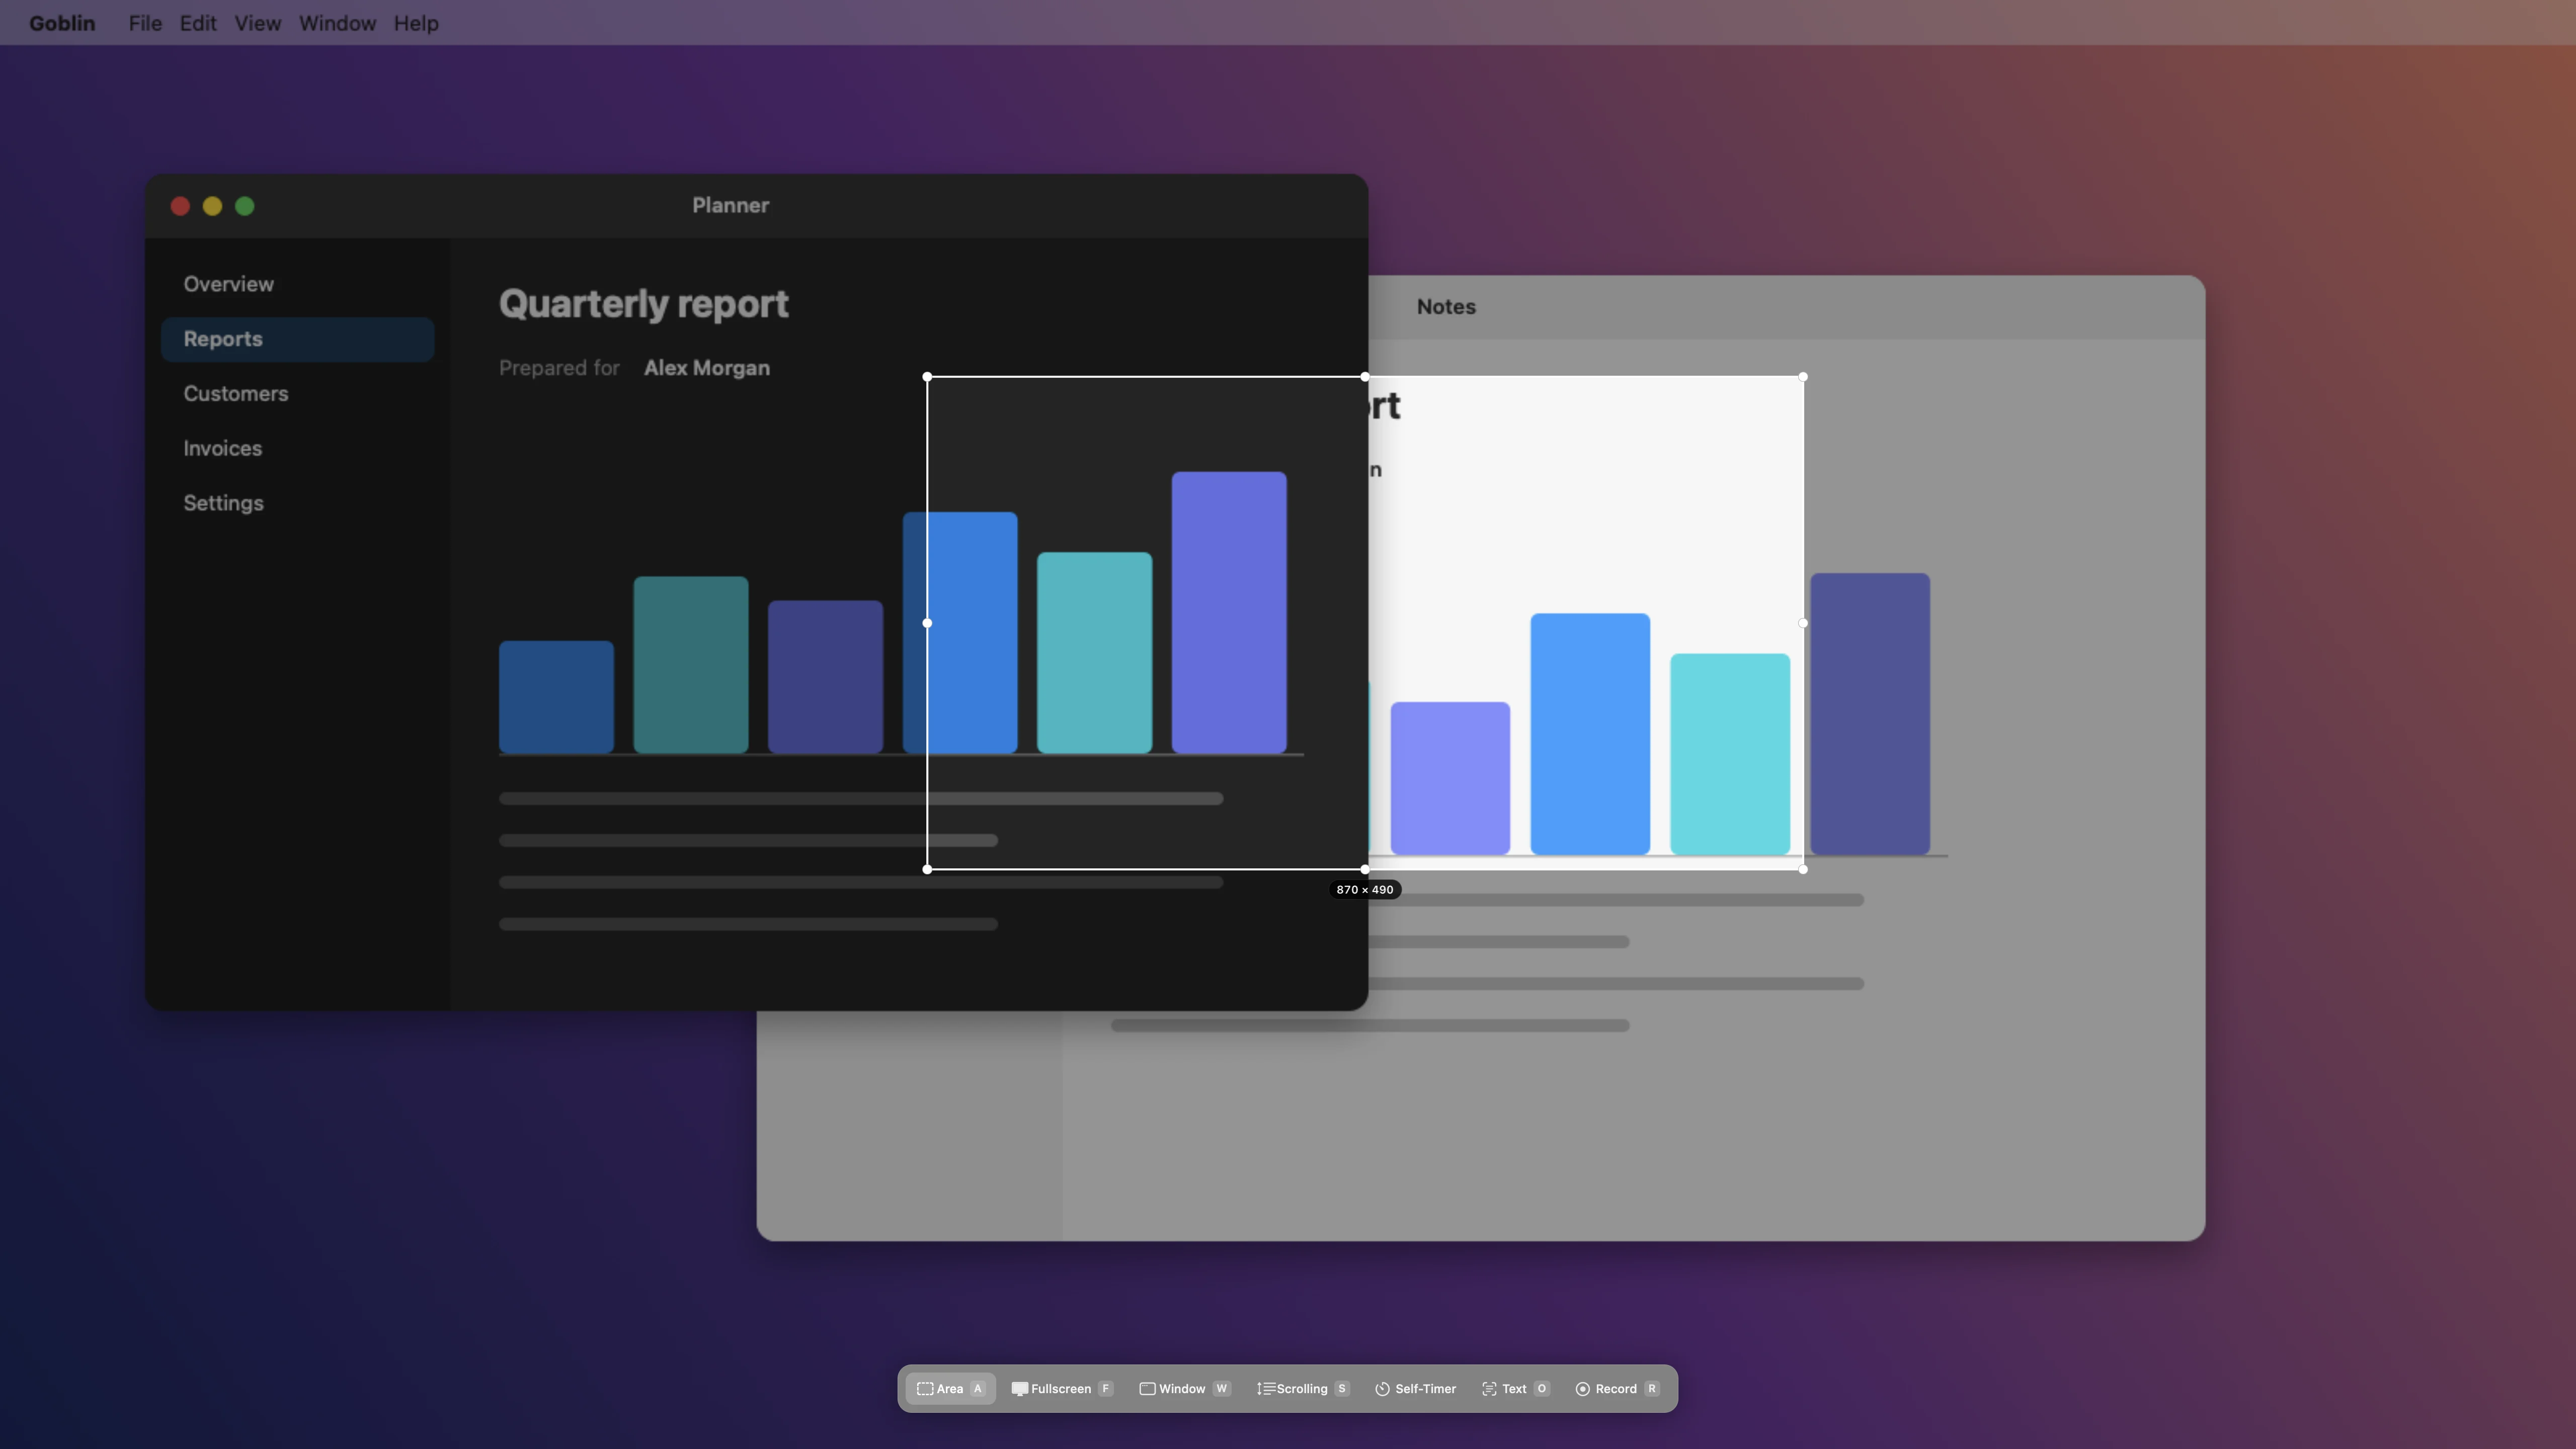
There are several other ways to start the same capture. Use whichever suits you:
- Right-click Goblin's menu bar item. The capture choices are in the Capture and Text & Codes submenus.
- Click a button in the row at the bottom of the menu bar dropdown, if you pinned a capture tool there (see Menu bar and desktop).
- Press a keyboard shortcut. They are off until you turn them on.
- Run
goblin capture areaor open agoblin://capture/arealink (Automation). - Use the Shortcuts app or AppleScript.
The kinds of capture#
| Capture | What it does |
|---|---|
| Capture Area | Drag a rectangle. The size label follows the pointer. Turn on Show magnifier (see below) to see the pixels and the color under the pointer; ⌘ and scroll changes the zoom. |
| Capture Previous Area | Takes the area you chose last time again, without selecting it. |
| Capture Fullscreen | The whole display. |
| Capture Window | A window you pick. |
| Scrolling Capture | A long page or list as one tall image. |
| Capture Text | Select an area; Goblin reads the text in it and copies the text. |
| Capture Object Cutout | Select an area around a subject. The background is removed and the subject is saved with transparency. Called Capture Subject in the shortcut list. |
| All-In-One | One overlay with a bar of modes along the bottom (area, fullscreen, window, scrolling, self-timer, text and recording). It remembers your last selection. It has a shortcut, and it isn't in the right-click menu. |
| Capture Smart Element | Captures the button, popup or other interface element under the pointer. Shortcut only. |
| Capture Markup | Select an area and mark it up on the spot, then finish with ⌘S or Return. Shortcut only. |
| Capture Area & Copy, & Save, & Annotate, & Pin | An area capture that also copies, saves, opens in the editor or floats the picture, whatever your After Capture settings say. Shortcut only. |
The right-click menu's Capture submenu has Capture Area, Capture Previous Area, Capture Fullscreen, Capture Window, Scrolling Capture, Import from iPhone and Self-Timer. Text & Codes has Capture Text and the other ways to read text. The rest start from shortcuts, pinned tools, Shortcuts-app actions and goblin capture commands. The old "frozen area" capture is now Freeze screen, a setting on Capture Area.
Capture a window#
- Choose Capture›Capture Window from the right-click menu. (During Capture Area, press Space before you start dragging to switch to picking a window; the key is Application Capture in Settings›Capture›Shortcuts.)
- Move the pointer. The window under it lights up.
- Click, or press Return, to take the lit window.
Hold ⌘ to take a part of the window instead of all of it. If a menu, popover, sheet, tooltip or an in-page dialog is open under the pointer, ⌘ takes that whole popup. Otherwise it takes the single element under the pointer, such as a button. Let go of ⌘ for the whole window again. This needs the Accessibility permission, which Goblin asks for the first time you turn on element detection.
New: Coming in the next update. Holding ⌘ over an open popup takes the popup, and the highlight follows the pointer after Space. Goblin's own menu bar panel can now be picked as a window too, when Goblin's windows are included in screenshots.
Include window shadow keeps the window's drop shadow in a window capture. Automatically detect window under cursor highlights the window under the pointer as you move, and Also detect specific elements, not just windows goes down to a single button, popup or part of a web page. Both detect switches are off by default (see Screenshot settings).
Capture a scrolling page#
- Choose Capture›Scrolling Capture.
- Drag over only the content that moves, so a fixed toolbar or sidebar isn't repeated.
- Press Start Capture.
- Scroll in one direction at a steady pace. Goblin lines up each new piece with the last. If you allow Accessibility when macOS asks, Goblin can scroll for you (Auto Scroll); keep the pointer inside the selected area.
- When you reach the end, press Done. The stitched image is saved.
If the pieces stop lining up (you changed direction or scrolled too fast), Goblin says so on screen, and what it has is saved when you finish. The stitched image has a height limit; at the limit Goblin saves what it has. Esc cancels.
Capture the text on screen#
- Choose Text & Codes›Capture Text, or press ⌘⇧2 if you turned the capture shortcuts on.
- Drag around the text.
- Paste with ⌘V. The text is already on your clipboard.
A notification shows the text (OCR Notifications), and if it contains web links Goblin offers to open them (Detect Links). Both are in Settings›Capture›Advanced and both are on by default. Language, line breaks and more are on Capture Text. In Settings›Capture›Advanced, OCR Model lets you use your own OpenAI-compatible server, such as Ollama or LM Studio, instead.
The self-timer#
Use the self-timer when what you want to capture goes away when you move: an open menu, a tooltip, a hover state.
- Right-click Goblin's menu bar item, choose Capture›Self-Timer and pick 3 seconds, 5 seconds or 10 seconds. The shortcut Self-Timer Capture counts the length set in Settings›Capture›Screenshots›Delayed capture countdown (3 seconds unless you change it); that shortcut ships unassigned.
- Open the menu or set up the hover. Goblin's menu bar item shows an orange ring and the seconds left (3, 2, 1), and a small card with the number appears in the middle of the screen.
- At zero Goblin freezes the screen, so what was open stays open, and you select the area on the still picture.
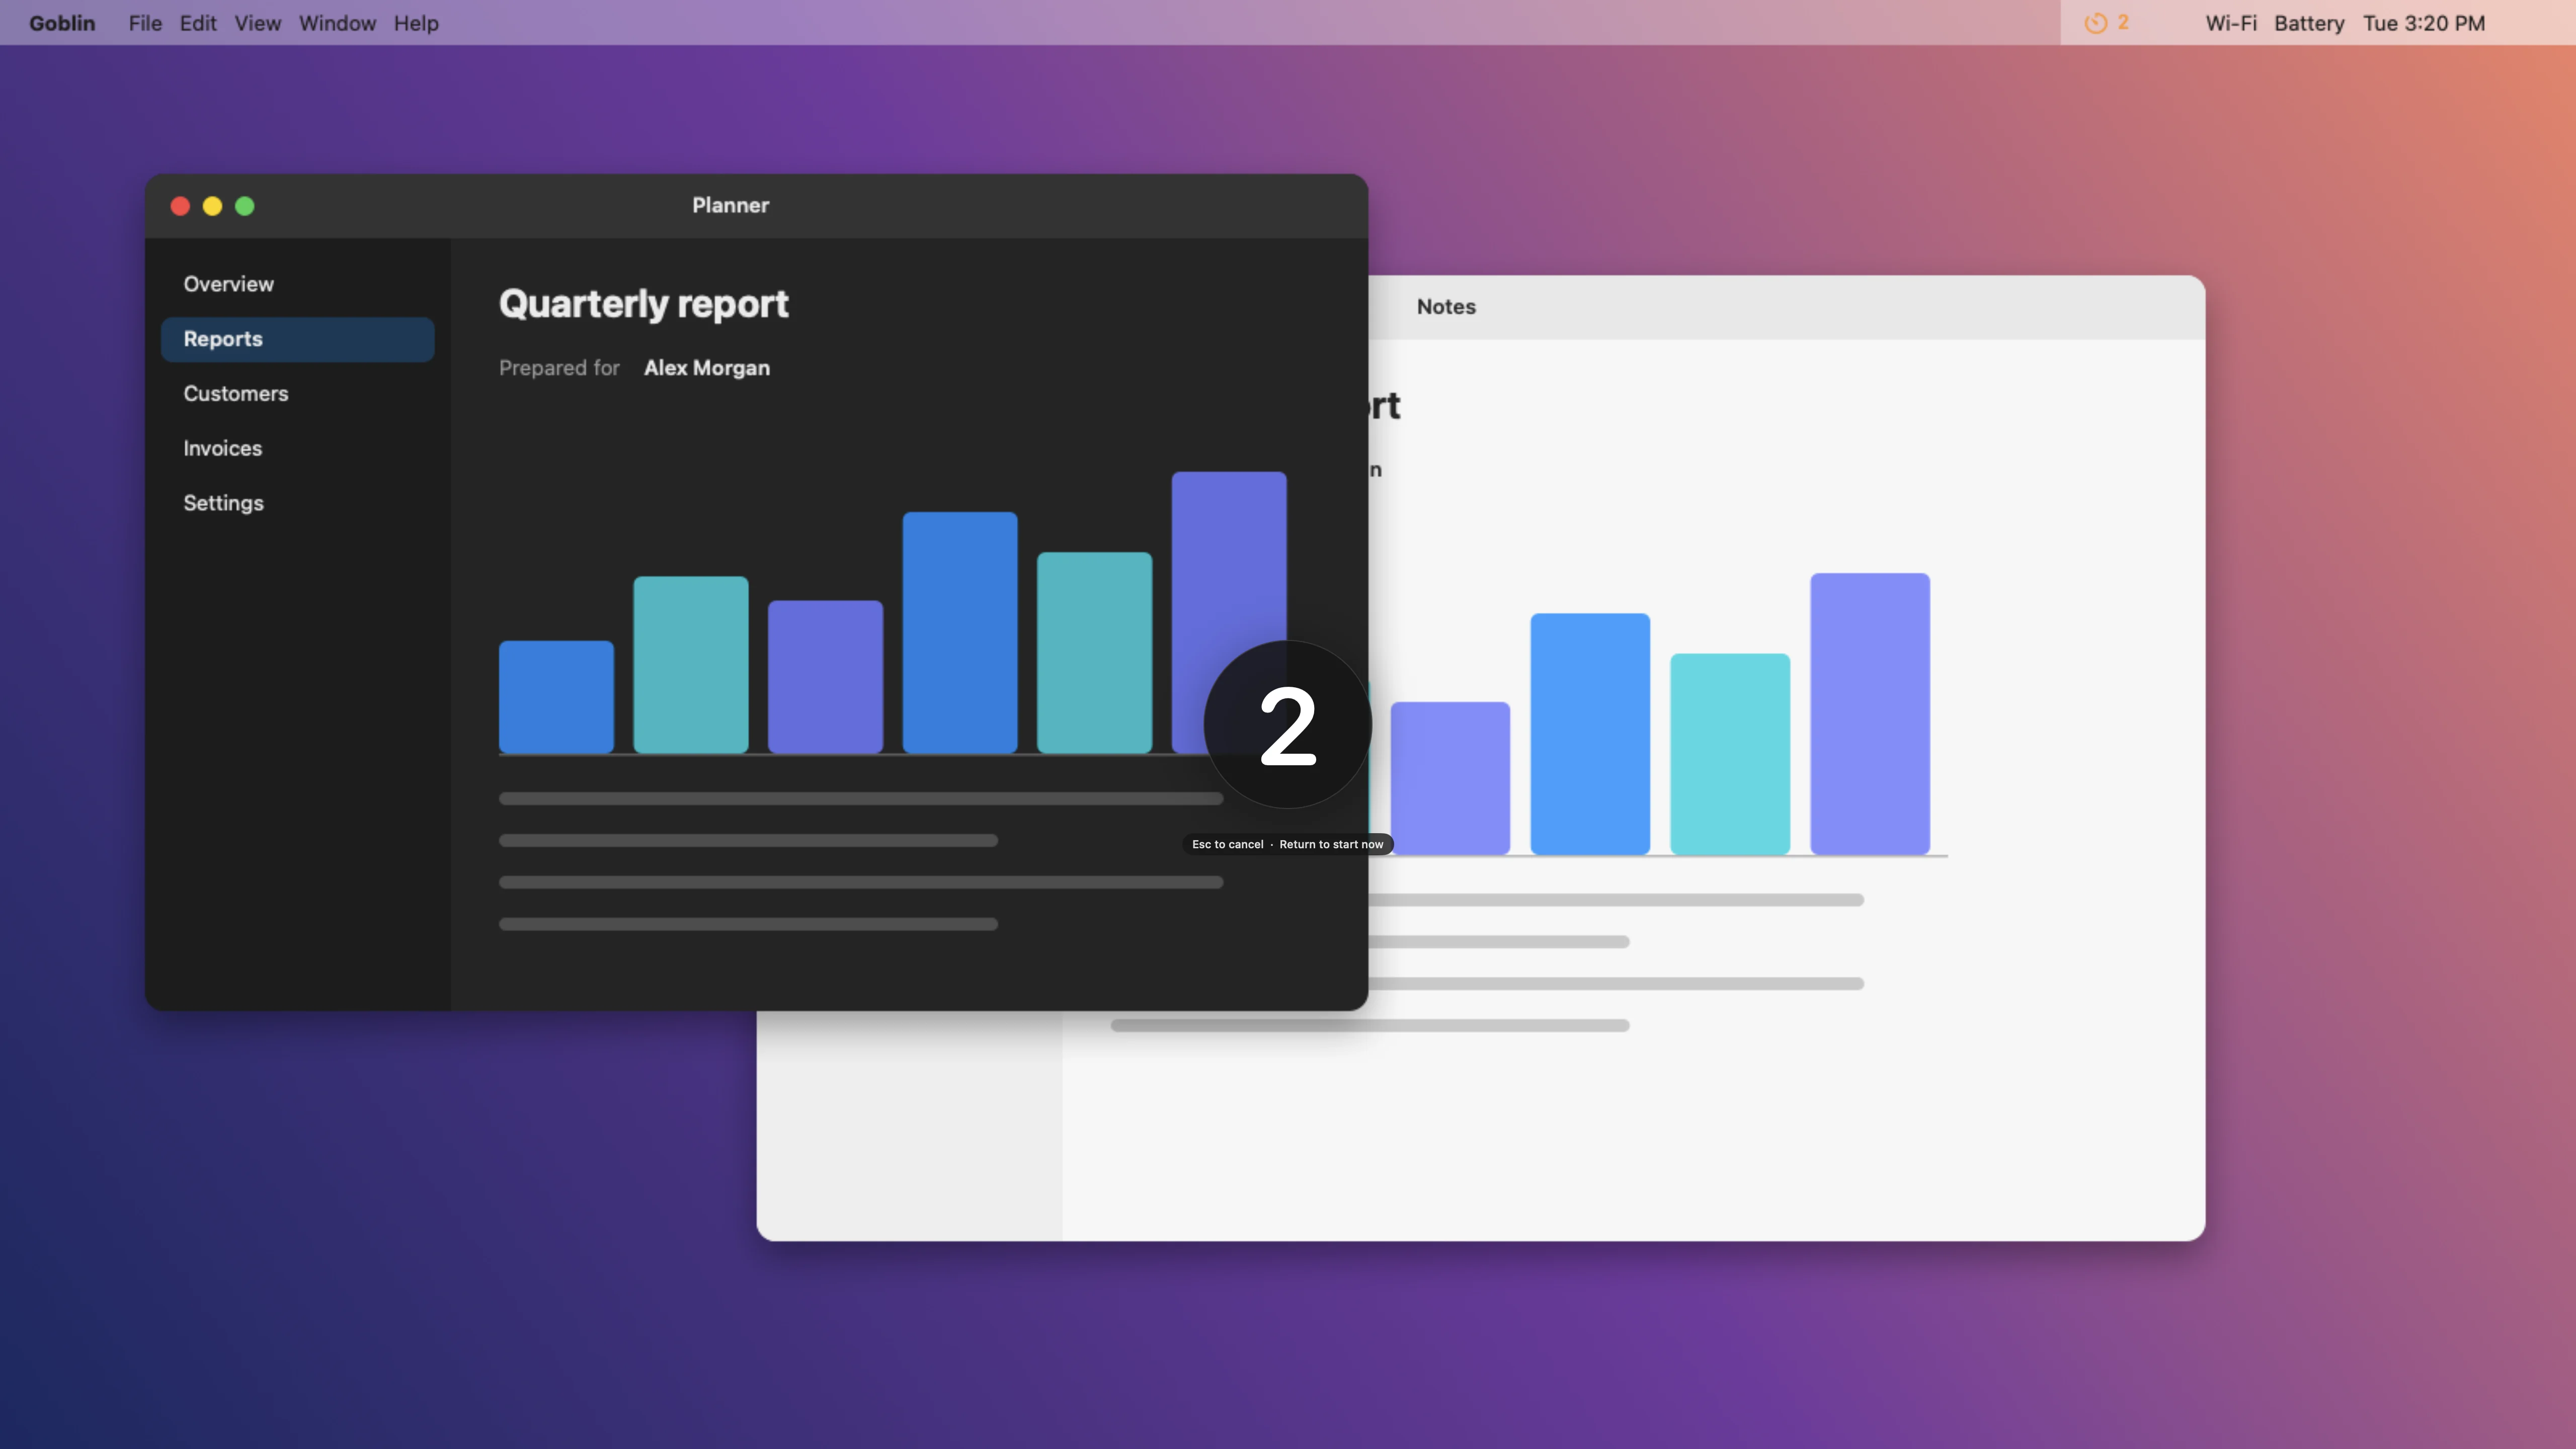
To cancel, click Goblin's menu bar item (any click), click the card in the middle of the screen, or press Esc.
goblin capture timer 10 and the goblin://capture/self-timer?seconds=10 link take any number of seconds from 1 to 60.
What happens to the picture#
By default a screenshot stays in Goblin's temporary capture storage, and a card appears at the edge of the screen (Quick Access). Click Save on the card to put it in your export location (the Desktop unless you choose another folder). Closing the card does not save it to the Desktop. Capture history can keep a recoverable copy inside Goblin (The Screenshots pinboard).
Choose what happens after a capture#
Screenshot Save is off by default, and existing installs switched it off once on updating. To save every screenshot automatically, or to change anything else that happens right after you capture:
- Open Settings›Capture›General.
- Find After Capture. It is a grid with one row per action and two columns, Screenshot and Recording.
- Tick the actions you want in the Screenshot column. The rows are Show Quick Access Overlay, Copy file to clipboard, Save, Upload & copy link, Open Annotate tool, Pin to the screen and Open Video Editor. A dash means the action doesn't apply to that kind of capture.
- To change the folder Save writes to, find Export above it and choose Choose… next to Export location.
By default the card and Copy file to clipboard are on for screenshots, and Save and the card are on for recordings. If every action in a column is off, Goblin warns At least one action needs to be enabled. If Copy file to clipboard and Upload & copy link are both on, the link replaces the file on your clipboard when the upload ends. Upload & copy link needs a cloud service first.
Screenshot settings#
Settings are in Settings›Capture, on the page named in the first column.
| Page › Setting | What it does | Default |
|---|---|---|
| Screenshots›Output›Image Format | PNG, JPEG or WebP. Object cutouts are always PNG, since they need transparency. WebP is slower to write. | PNG |
| Screenshots›Capture›Delayed capture countdown | How long the Self-Timer Capture shortcut waits: 3, 5 or 10 seconds. | 3 seconds |
| Screenshots›Capture›Show cursor | Includes the mouse pointer in screenshots. | Off |
| Screenshots›Capture›Freeze screen | Holds a still picture of the screen and every open control while you select. | On |
| Screenshots›Area Selection›Show crosshair | Thin lines across the whole screen through the pointer while you choose an area. | Off |
| Screenshots›Area Selection›Show magnifier | Zooms in on the pixels under the pointer while you choose an area. | Off |
| Screenshots›Window Screenshots›Include window shadow | Keeps the window's drop shadow in a window capture. | On |
| Screenshots›More›Overlay›Show selection area overlay | Dims the screen outside the area while you select. | On |
| Screenshots›More›Overlay›Automatically detect window under cursor and Also detect specific elements, not just windows | Highlight the window, or the button or popup, under the pointer as you move. The second needs the first. Turning the second on asks for Accessibility. | Off |
| Screenshots›More›Hover passthrough | Lets tooltips and hover states stay visible while you select. Needs Accessibility. | On |
| Screenshots›More›Scrolling Capture›Show Session Hints | Keeps guidance on screen when a scrolling capture starts. | On |
| General›Capture›Hide desktop icons, Hide desktop widgets | Cover them only while the capture is taken. | Off |
| General›Capture›Hide other apps | Keeps the app active when the screenshot starts. Other apps stay open but are left out of Full Screen, Area and All-In-One screenshots. | Off |
| General›More›App Windows›Include in Screenshots | Whether Goblin's own windows, such as the annotation editor and the menu bar panel, appear in screenshots. | On |
| Advanced›Output Naming›Screenshot Template | The file name pattern. Tokens such as {datetime}, {date}, {time}, {type} and {appName} fill in the details; a / makes a subfolder. See Advanced capture settings. | Goblin_{datetime}_{ms} |
General›More is a collapsed row at the bottom of the page. Click it to show the extra sections. Hover passthrough and some other settings also sit in More.